
How to Create Better Cinematics in Unreal Engine 5
Aug 19, 2026
Unreal Engine 5 gives artists the tools to create trailers, short films, product presentations, environment showcases, and other high-quality cinematic content in real time.
However, access to professional tools does not automatically produce professional results.
A cinematic can contain detailed environments, realistic lighting, and smooth camera animation while still feeling like a camera moving through a game level. The missing ingredient is often not another rendering setting. It is a clear production process.
Strong cinematics are built shot by shot. Each camera angle, movement, lighting decision, and cut should support the idea you want to communicate.
Here is a practical workflow for taking an Unreal Engine scene from the first concept to the final render.
1. Decide What the Cinematic Needs to Communicate
Before opening Sequencer, define the purpose of the cinematic.
Are you creating:
- A game trailer?
- A short film?
- An environment showcase?
- A product animation?
- A portfolio piece?
- A cinematic presentation for a client?
The answer affects your shot selection, pacing, lighting, camera movement, and final edit.
A cinematic designed to introduce a large environment may begin with a wide establishing shot. A product animation may require controlled close-ups and precise lighting. A suspenseful scene may reveal information slowly rather than showing everything immediately.
Write down the essential shots before you begin animating. Even a basic shot list gives the production direction and prevents unnecessary work later.
2. Build the Sequence Before Polishing Individual Shots
Sequencer is Unreal Engine's main multi-track editor for creating cinematic content. It lets you animate cameras, characters, lights, objects, effects, and other properties across a timeline.
Start by creating a Level Sequence and blocking the entire cinematic with simple camera cuts.
At this stage, focus on:
- Shot order
- Approximate shot length
- Camera position
- Subject placement
- Overall pacing
Do not spend hours perfecting the first camera while the rest of the sequence remains undefined.
Play the complete edit from beginning to end. You should be able to understand the visual idea even before the animation, lighting, and rendering are finished.
This rough version is your cinematic blueprint.
3. Create Strong Composition Before Adding Camera Movement
One of the most common mistakes in Unreal Engine cinematics is adding movement too early.
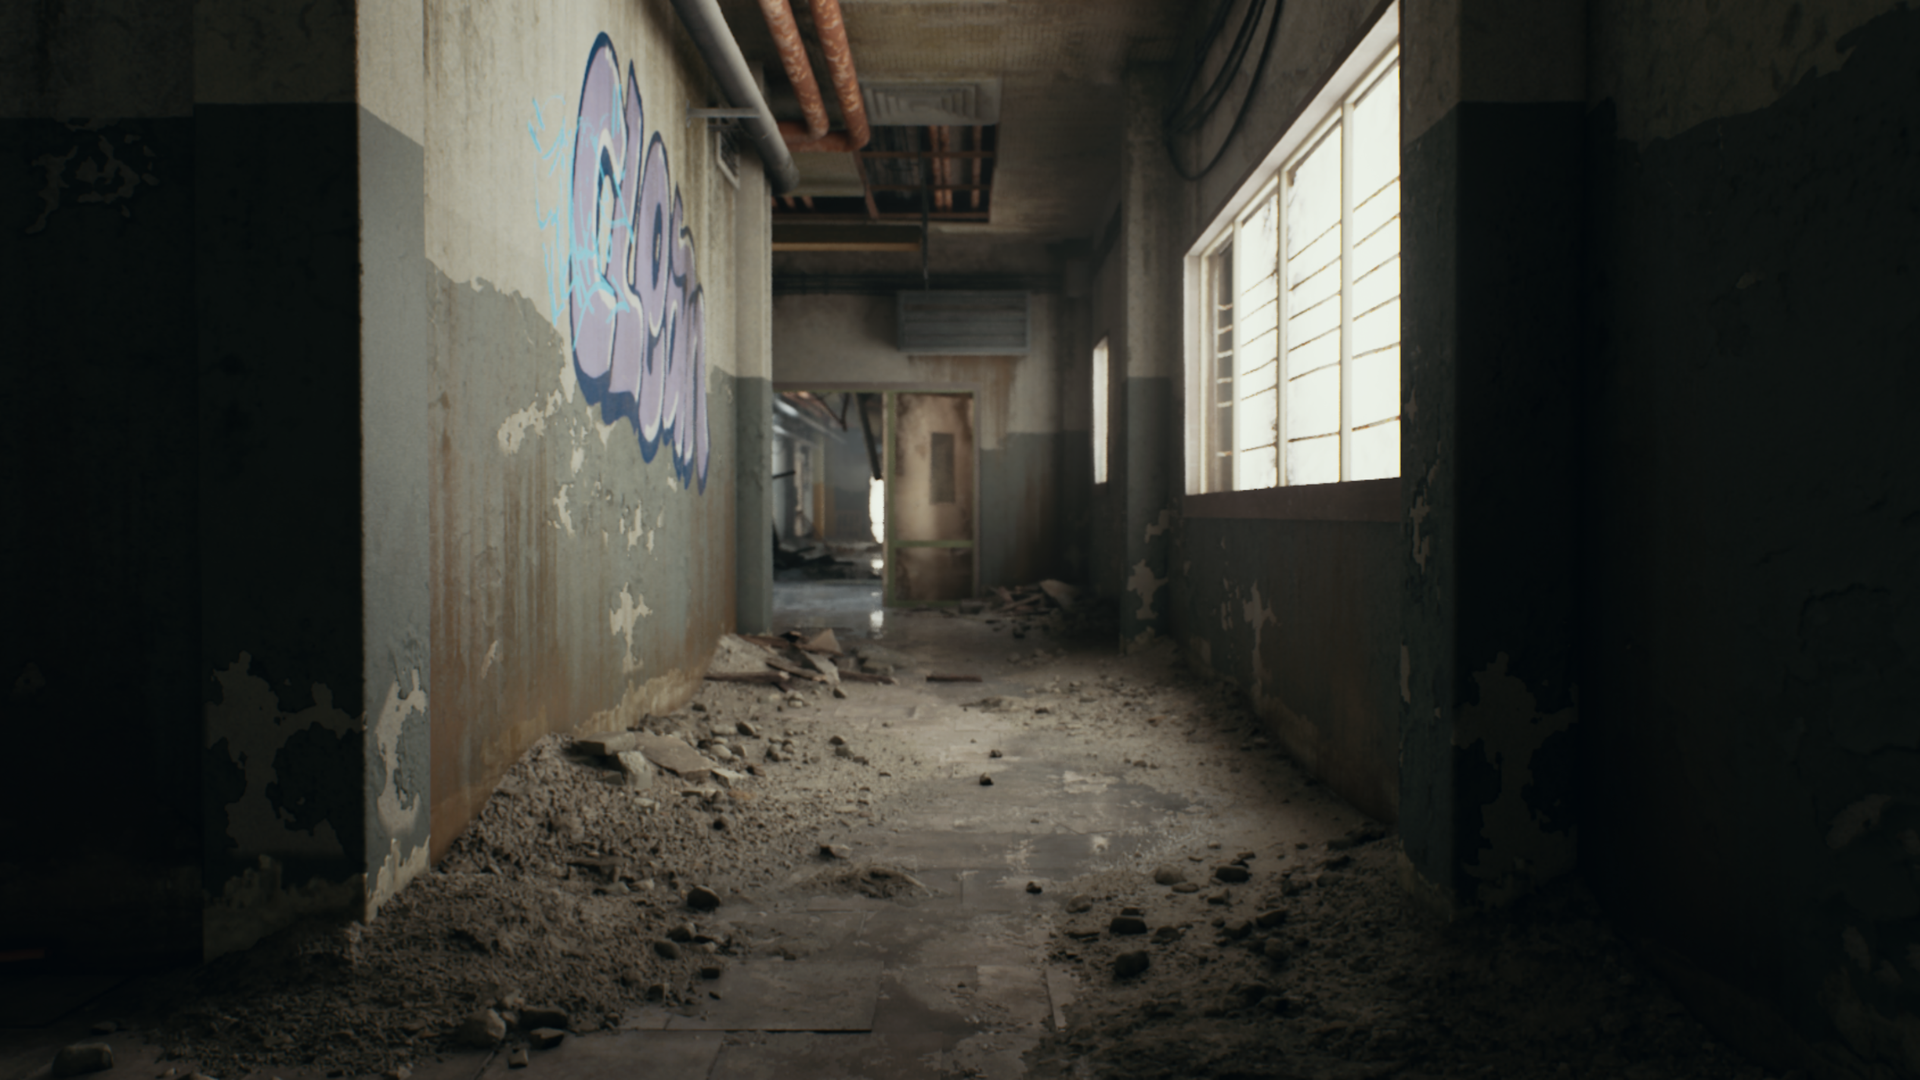
First, position the camera and create a strong static composition. Consider the subject, foreground, background, lighting, depth, and visual balance.
Ask yourself:
- What should the viewer notice first?
- Is the subject clearly separated from the background?
- Does the environment support the story?
- Are important details hidden near the edge of the frame?
- Does the shot still work when the camera is not moving?
If a static frame does not communicate clearly, a complicated camera move will rarely solve the problem.
Unreal Engine's Cine Camera Actor is designed for cinematic work. Its filmback, lens, aperture, and focus settings replicate important characteristics of physical filmmaking cameras.
Use those controls deliberately. A wide lens placed close to a subject creates a different impression from a longer lens positioned farther away, even if the subject occupies the same amount of screen space.
4. Give Every Camera Movement a Purpose
Smooth movement is not the same as meaningful movement.
A camera can:
- Reveal new information
- Follow a subject
- Establish the scale of an environment
- Build tension
- Direct attention
- Connect two visual elements
- Create a sense of speed or calm
Before adding keyframes, decide why the camera needs to move.
A slow push toward a subject can increase attention. A tracking shot can connect the viewer with a moving character or vehicle. A crane movement can gradually reveal the scale of an environment.
Sometimes the strongest choice is a locked camera with movement happening inside the frame.
After creating the basic movement, use Sequencer's Curve Editor to refine the animation. Sudden acceleration, uneven easing, or unnecessary direction changes can make a camera feel mechanical. Review the movement at full speed instead of judging it only while scrubbing through individual frames.
5. Light the Shot for the Camera
Lighting an environment and lighting a cinematic shot are related, but they are not exactly the same task.
An environment may look convincing while you navigate through the viewport, yet important shapes can disappear when viewed through the final camera.
Evaluate lighting from the active Cine Camera Actor. Look for:
- Clear subject separation
- Readable silhouettes
- Controlled highlights
- Intentional areas of contrast
- Consistent exposure between shots
- Lighting that supports the mood
Do not try to make every part of the frame equally visible. Contrast helps direct the viewer's attention.
When working with multiple shots, check the entire sequence regularly. A shot may look good on its own but feel too bright, dark, warm, or cool when placed next to the previous shot.
6. Add Depth Without Overusing Camera Effects
Depth of field, motion blur, bloom, fog, and lens effects can improve a cinematic, but they should support the image rather than hide its weaknesses.
Strong depth usually begins with the scene itself:
- Foreground elements
- Midground subjects
- Background separation
- Atmospheric perspective
- Directional lighting
- Intentional camera placement
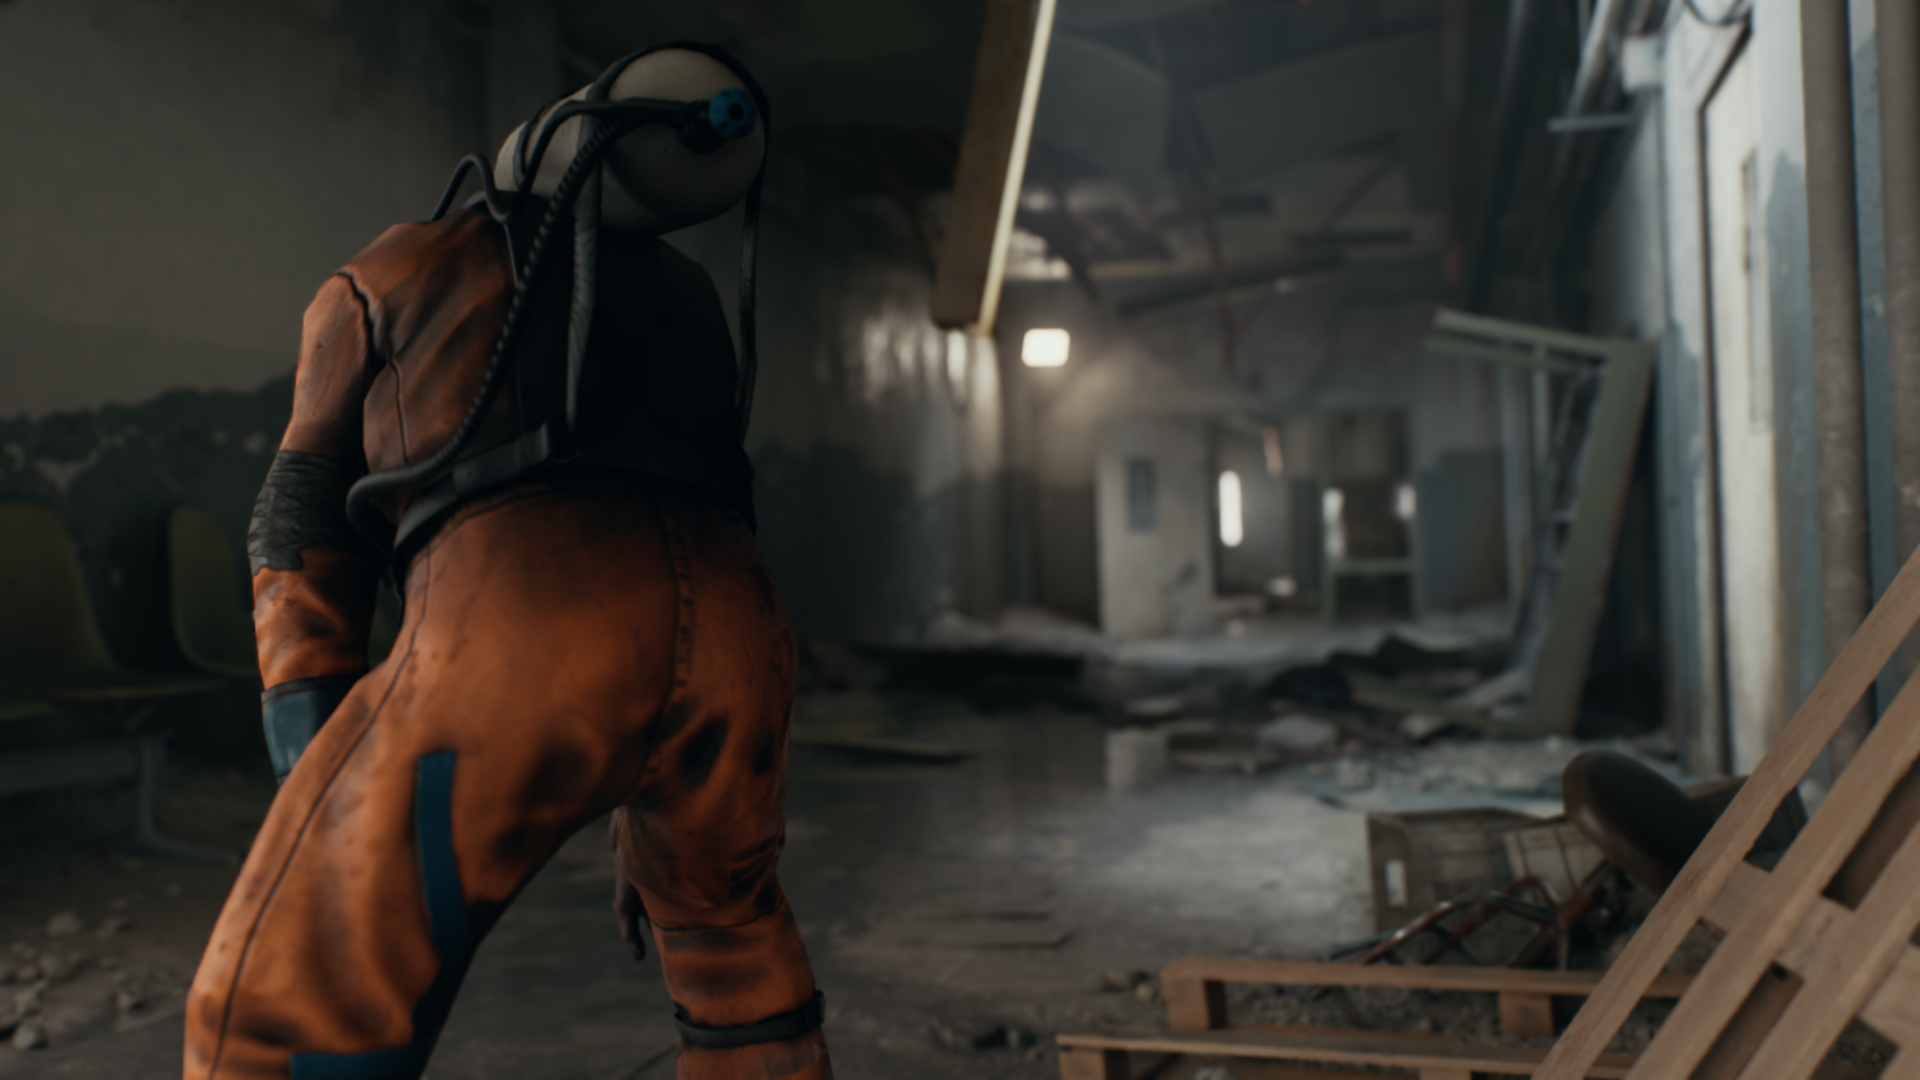
Use depth of field to guide attention, but verify the focus distance throughout the complete shot. An attractive blurred background will not help if the main subject drifts out of focus during the camera movement.
The same rule applies to motion blur and bloom. Start with restrained settings and increase them only when they improve the shot.
7. Test Before Starting the Final Render
Do not make the first complete render your final high-quality render.
Create short test renders to check:
- Camera cuts
- Missing frames
- Focus
- Motion blur
- Exposure
- Reflections
- Animated effects
- Texture or geometry problems
- Temporal artifacts
Watch the test outside Unreal Engine. Problems that are easy to miss while working in the editor often become obvious during normal playback.
Test the most difficult shots first. Fast movement, detailed foliage, reflections, particles, and shallow depth of field are more likely to reveal issues than a simple static shot.
8. Render the Final Sequence with Movie Render Queue
Movie Render Queue is designed for high-quality image and video output from Unreal Engine. It supports render jobs, reusable settings, multiple output formats, and quality controls that go beyond a normal viewport capture.
Before launching the full render, confirm:
- Output resolution
- Frame rate
- Frame range
- Output folder
- File format
- Anti-aliasing settings
- Warm-up requirements
- Correct map and Level Sequence
Save a reusable render preset once you have settings that work for your project. This reduces mistakes and keeps the output consistent across multiple shots.
Higher values do not automatically create better images. They can greatly increase rendering time while providing little visible improvement. Test representative frames and adjust settings based on the actual problems in your project.
9. Finish the Cinematic in the Edit
The render is not the end of cinematic production.
Editing determines the final rhythm of the sequence. This is where you refine shot length, remove unnecessary moments, add sound, balance colors, and make the complete piece feel intentional.
A shot that looked impressive in isolation may be too long in the final edit. Another may need only a few extra frames to make an action easier to understand.
For that reason, treat Unreal Engine and your editing software as parts of the same production pipeline. The final cinematic is created through the relationship between scene preparation, Sequencer, camera animation, lighting, rendering, editing, and color grading.
Learn the Complete UE5 Cinematic Pipeline
Creating professional cinematics requires more than knowing where the buttons are. You need a repeatable workflow that takes a project from the initial idea to a finished sequence.
The UE5 Cinematic Production course teaches the complete process, including:
- Planning cinematic shots
- Working with Sequencer
- Animating professional camera movements
- Composition and cinematic lighting
- Rendering with Movie Render Queue
- Editing and color grading in DaVinci Resolve
- Creating portfolio-ready cinematics
The course is designed for artists who want to create trailers, short films, virtual-production projects, environment showcases, marketing videos, and professional rendered sequences inside Unreal Engine 5.
Stay connected with news and updates!
Join our mailing list to get the latest Unreal Engine 5 news, updates, and insights from the 3D College team.
We hate SPAM. We will never sell your information, for any reason.
